Pour the Egg into Boiling Milk❗I No Longer Buy This from the Store. Only 3 Ingredients!A Delicious Recipe with 3 Simple Ingredients: A Must-Have Homemade Dish!
In this recipe, you will only need three main ingredients to create a tasty and easy-to-make dish at home. You’ll discover how to prepare a creamy and fluffy dessert using milk, eggs, and yogurt. This dish rivals store-bought ones and allows you to enjoy it from the comfort of your home. Here’s the complete method to achieve the perfect result.
Ingredients Needed:
- 2 liters of milk
- 3 eggs
- 200 grams of yogurt
- 2 tablespoons sugar
- 1 teaspoon powdered sugar
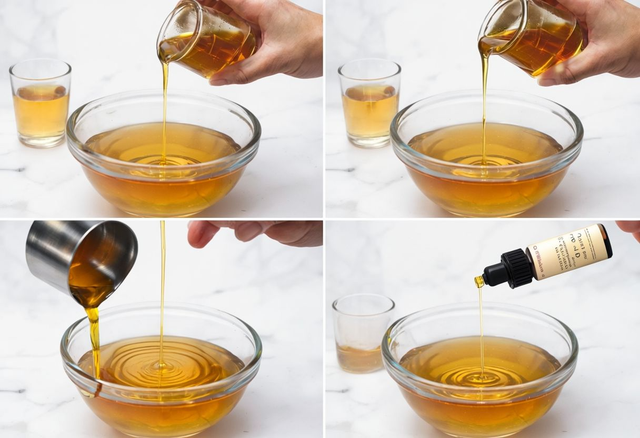
- 500 ml of whey (lactoserum)
- 1 tablespoon sugar
- 10 grams of dry yeast
- ½ teaspoon salt
- 1 egg (for brushing)
- 470 grams of flour
- 50 ml vegetable oil
Preparation:
Heat the Milk
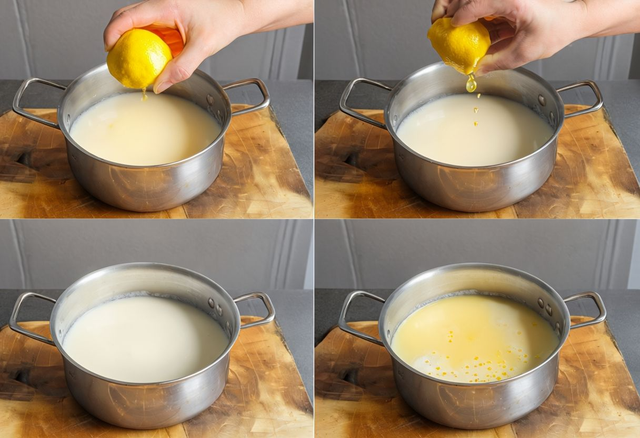
Start by pouring 2 liters of milk into a pot and heat over medium heat until it starts to boil. Watch carefully to prevent the milk from overflowing. Once it’s ready, remove the pot from the heat.
Prepare the Egg and Yogurt Mixture
In another bowl, crack 3 eggs and add 200 grams of yogurt. Whisk these ingredients together until smooth and well combined.
Pour the Mixture into Boiling Milk
Once the milk begins to boil, slowly pour the egg and yogurt mixture into the milk. Stir gently with a wooden spoon to properly integrate the ingredients. Cook for about 10 minutes, stirring occasionally to prevent the mixture from sticking to the bottom of the pot.
Let It Rest
After about 10 minutes of cooking, remove the mixture from the heat and let it rest for 6 to 12 hours. This step is crucial as it allows the flavors to fully develop and thickens the texture.
Prepare the Whey-Based Dough
After the resting phase, prepare the dough. Take 500 ml of whey and add 1 tablespoon of sugar and 10 grams of dry yeast. Mix well to dissolve the yeast and sugar in the whey.
Add Flour, Salt, and Oil
Next, add ½ teaspoon of salt and 470 grams of flour to the mixture. Gradually incorporate the flour while mixing until a smooth dough forms. Also, add 50 ml of vegetable oil to make the dough more flexible and easier to handle. Knead the dough for a few minutes until it becomes smooth and elastic.
Let the Dough Rest
Cover the dough with a clean kitchen towel and let it rest for about 30 minutes. This will allow the dough to rise and become more airy.
Divide the Dough
After the 30 minutes of resting, divide the dough into 9 equal parts. Shape each part into small balls. Then, roll each dough ball into equal-sized discs. Stack these discs on top of one another to create a layered pile.
Add Cheese and Form Bites
On each layer of dough, add a portion of shredded cheese or fresh cheese (depending on your preference). Fold each portion of dough by folding the edges over the cheese to form small balls or packages. Be sure to seal the edges well so the cheese doesn’t escape during baking.
Prepare for Baking
Place the dough balls on a baking sheet lined with parchment paper. Brush each dough ball with a beaten egg to achieve a golden color during baking.
Baking
Preheat your oven to 200°C (400°F) and bake the dough balls for 25 minutes. During baking, ensure the pastries become golden and crispy. The smell that fills the kitchen will make your mouth water!
Tasting
Once your little bites are ready, let them cool slightly before enjoying them. They will be crispy on the outside and tender and flavorful on the inside. This dish is delicious at any time of the day, whether as a snack, a side dish, or a treat with a meal.
Final Note
If you’re discovering this channel for the first time, don’t forget to subscribe for more simple and delicious recipes like this one! Also, let me know in the comments where you are watching my videos from. I’m really interested in knowing where my subscribers are from!
This recipe is not only easy to prepare but also full of flavor, and it only requires a few basic ingredients that you likely already have at home. So, don’t wait any longer and try it for yourself! Enjoy and savor this homemade delight!